This tutorial walks you through the process of setting up Termux, installing essential tools, configuring Ubuntu, and running a Bitcoin miner on your Android device, turning your phone into a Bitcoin lottery machine.
Step 1: Set Up Storage Access
- Open Termux: Launch the Termux app
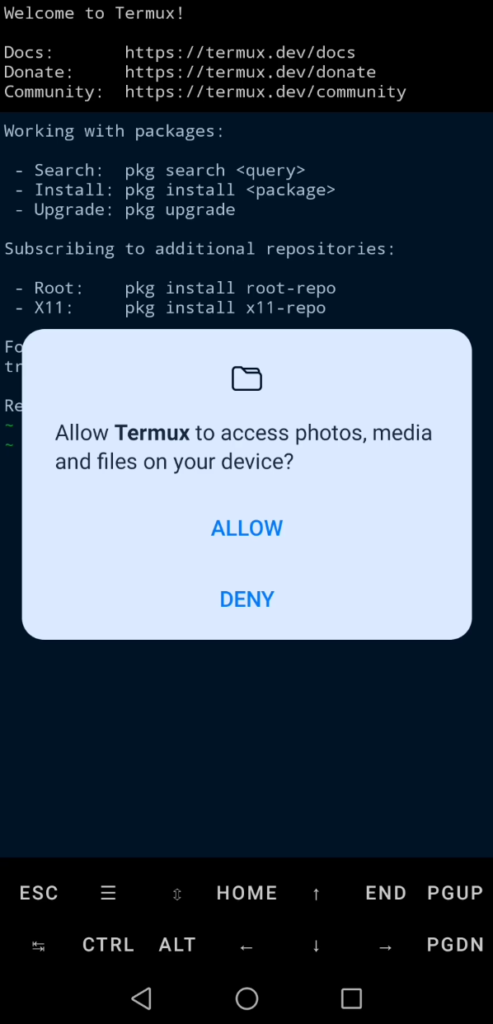
- Run the Setup Storage Command: To allow Termux to access your device’s storage, you need to run the following command:
termux-setup-storage - Grant Permissions:
- After running this command, Termux will prompt you to allow storage permissions.
- Accept the permissions.
Step 2: Update and Upgrade Packages
- Update Package Lists: To ensure you have the latest package lists, run the following command:
apt update - Upgrade Installed Packages: To upgrade all installed packages to their latest versions, run:
apt upgrade - Confirm Upgrade:
- During the upgrade process, you may be prompted to confirm the upgrade.
- Type
yand press Enter to proceed.
Step 3: Install Essential Packages
- Install wget: To install
wget, run the following command:apt install wget -y - Install proot: To install
proot, run the following command:apt install proot -y - Install git: To install
git, run the following command:apt install git -y
Step 4: Download and Set Up Ubuntu in Termux
- Download the Ubuntu Script: To download the script for setting up Ubuntu, run the following command:
git clone https://github.com/MFDGaming/ubuntu-in-termux.git - Go to the Script Folder: Navigate to the folder containing the script:
cd ubuntu-in-termux - Give Execution Permission: Make the script executable by running:
chmod +x ubuntu.sh - Run the Script: To start the installation of Ubuntu, run:
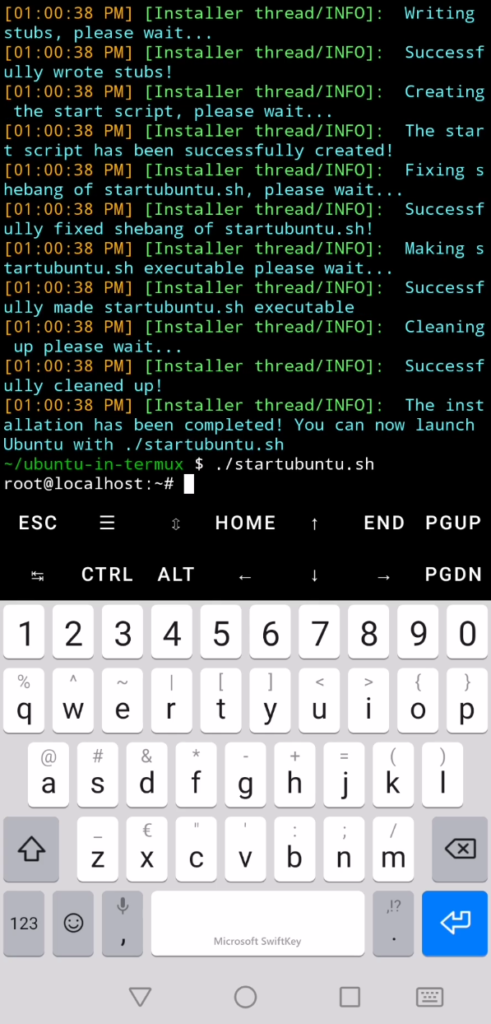
./ubuntu.sh -y - Start Ubuntu: Once the installation is complete, start Ubuntu by running:
./startubuntu.sh
Step 5: Update and Upgrade the Linux Environment
- Update Package Lists in Ubuntu: To ensure you have the latest package lists in your Ubuntu environment, run the following command:
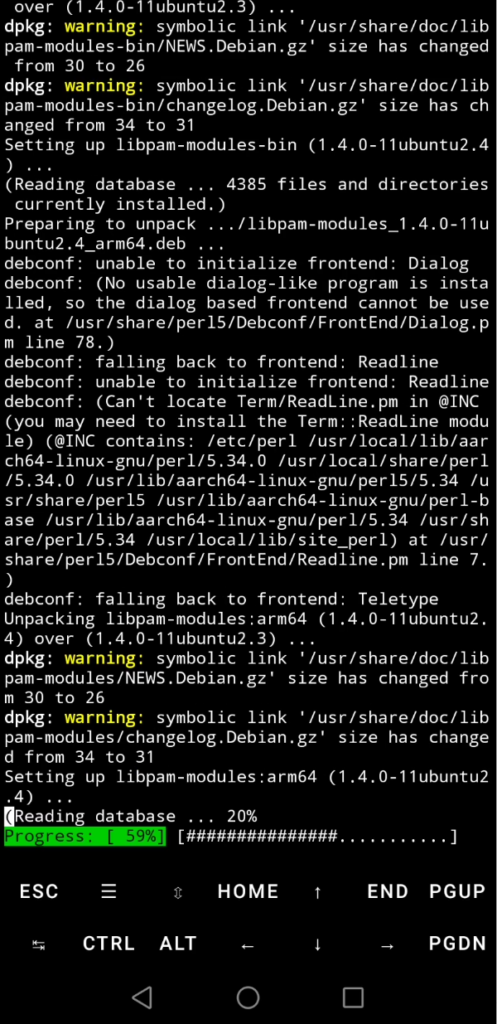
apt update - Upgrade Installed Packages in Ubuntu: To upgrade all installed packages to their latest versions, run:
apt upgrade - Confirm Upgrade:
- During the upgrade process, you may be prompted to confirm the upgrade.
- Type
yand press Enter to proceed.
Step 6: Install Nano
- Install nano: To install the
nanotext editor, run the following command:apt install nano
Step 7: Create and Execute the Bitcoin Miner Installation Script
- Create the Script File: Use
nanoto create thebtc-install.shscript:nano btc-install.sh - Copy the Following Script into Nano:
#!/bin/bash

# Update package list and install dependencies
sudo apt-get update
sudo apt-get install -y git build-essential automake autoconf libcurl4-openssl-dev

# Clone cpuminer repository
git clone https://github.com/pooler/cpuminer.git
cd cpuminer

# Prepare the build system
./autogen.sh

# Configure the build system
./configure

# Compile cpuminer
make

# Verify the build
if [ ! -f minerd ]; then
    echo "cpuminer build failed."
    exit 1
else
    echo "cpuminer build succeeded."
fi

# Run cpuminer
# Note: Replace <YOUR_BTC_ADDRESS> with your actual Bitcoin address and <NUMBER_OF_THREADS> with the number of threads you want to use

./minerd --algo sha256d --url stratum+tcp://public-pool.io:21496 --user <YOUR_BTC_ADDRESS>.Test1 --pass x --threads <NUMBER_OF_THREADS>
Save and Exit Nano:
- Press
CTRL + Xto exit. - Press
Yto confirm changes. - Press
Enterto save the file.
Give Execution Permission: Make the script executable by running:
chmod +x btc-install.sh
Run the Script: To execute the script, run:
./btc-install.sh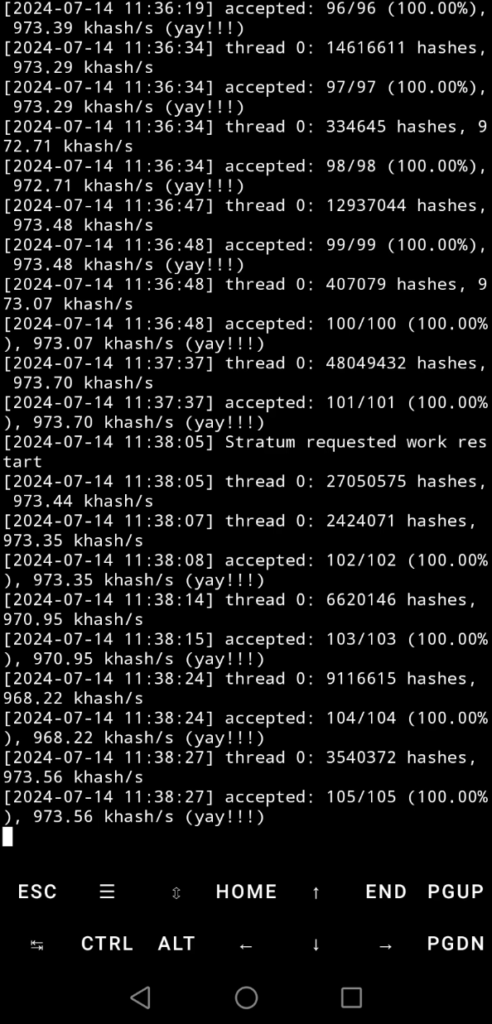

Step 8: Create the start.sh Script
- Create the Script File:shCode kopieren
nano start.sh - Copy the Following Content into Nano:
#!/bin/bash# Navigate to the cpuminer directory (adjust this path if necessary) cd ~/cpuminer# Run cpuminer with the specified parameters# Replace <YOUR_BTC_ADDRESS> with your Bitcoin address and <NUMBER_OF_THREADS> with the number of threads./minerd --algo sha256d --url stratum+tcp://public-pool.io:21496 --user <YOUR_BTC_ADDRESS>.Test1 --pass x --threads <NUMBER_OF_THREADS># Confirm the start echo "cpuminer has started." - Save and Close the File:
- Press
CTRL + X, thenY, thenEnter.
- Press
- Make the Script Executable:
chmod +x start.sh - Running the
start.shScript: Whenever you need to start cpuminer, run:./start.sh
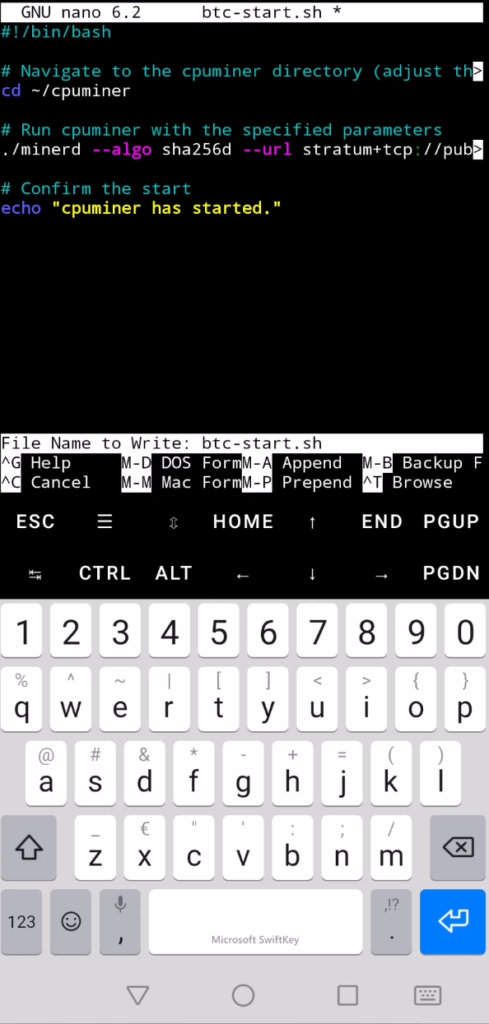
This tutorial now includes the extra step for creating and running the start.sh script, allowing you to easily start cpuminer. Remember to replace <YOUR_BTC_ADDRESS> with your actual Bitcoin address and <NUMBER_OF_THREADS> with the number of threads you want to use.