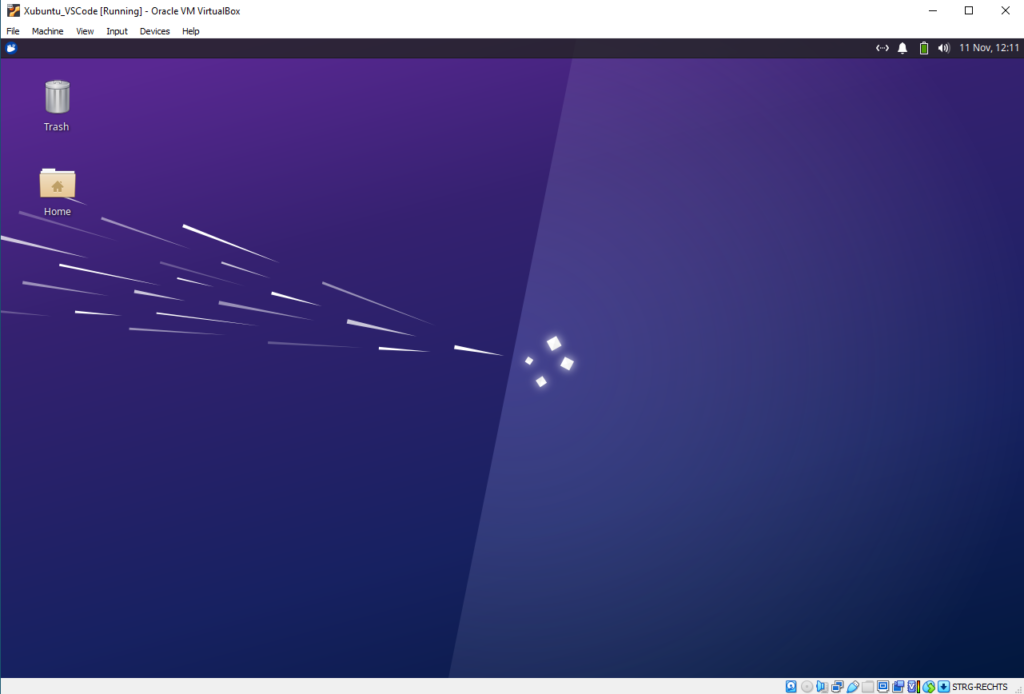
Introduction: Embark on a journey into the world of Linux with Xubuntu, a lightweight and user-friendly distribution. Follow these simple steps to install Xubuntu on your system and embrace the power of open-source computing.

Step 1: Download Xubuntu ISO Visit the official Xubuntu website and download the appropriate ISO file for your system architecture (32-bit or 64-bit). The ISO serves as the installation image, containing the essential files to set up the operating system.
Step 2: Create Bootable USB Drive Use a tool like Rufus (for Windows) or Etcher (for Linux and macOS) to create a bootable USB drive with the Xubuntu ISO. This USB drive will be the key to initiating the installation process on your computer.
Step 3: Boot from USB Insert the bootable USB drive into your computer and restart it. Access the BIOS/UEFI settings and configure the boot order to prioritize the USB drive. Save the changes and restart, allowing your system to boot from the Xubuntu installation media.
Ngrok Unleashed: Seamless Remote Access with Free Subdomains for Your Local Servers
Ngrok revolutionizes web development by providing a seamless solution for exposing local servers globally. Enjoy the ease of secure, instant access to your localhost projects with Ngrok. Claim your free subdomain, effortlessly navigate firewalls, and simplify collaboration by sharing your work live. Elevate your development experience with Ngrok’s user-friendly interface, enabling you to showcase and test your projects with just a few clicks. Welcome to a new era of accessible, hassle-free local server exposure.

Step 1 – Download and Install Visual Code Server Packages
Now download the Visual Code Server packages for Ubuntu using the wget command below.
wget -q https://github.com/cdr/code-server/releases/download/3.4.1/code-server_3.4.1_amd64.debAfter that, install the Visual Code Server package using the dpkg command below.
sudo dpkg -i code-server_3.4.1_amd64.deb
Once the installation is completed, start the code server service and add it to the system boot.
systemctl --user start code-server
systemctl --user enable code-server
Check the Visual Code Server Status:
The Visual Code Server is up and running; you can check it using the following command.
ss -plnt
systemctl --user status code-server
Step 2 – Configure Authentication for Visual Code Server
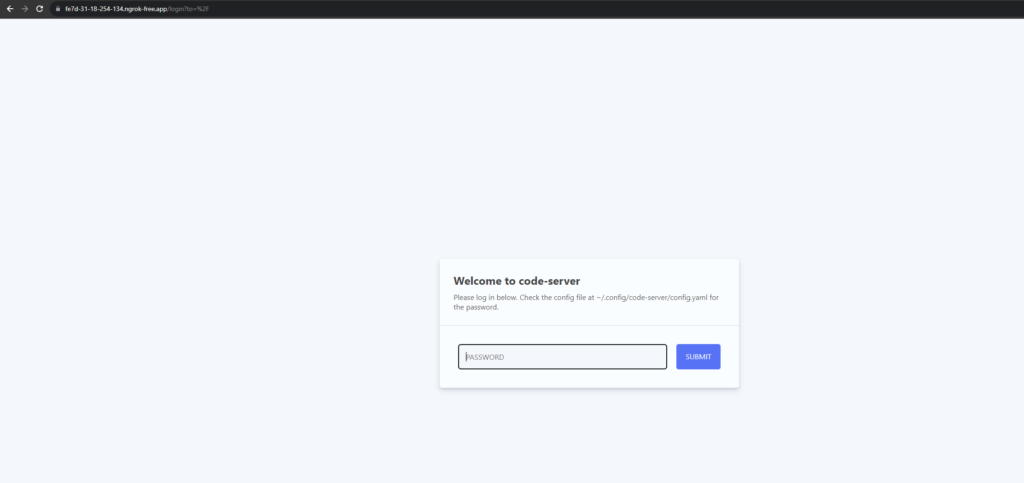
By default, Visual Code Server operates with password authentication enabled. The authentication details are generated and stored in the ‘~/.config/code-server/config.yaml’ file.
To inspect the Visual Code Server configuration, use the following command:
cat ~/.config/code-server/config.yaml
The configuration will resemble the following:
bind-addr: 127.0.0.1:8080
auth: password
password: 878787512a03529a2d26c08af
cert: false
Key Configuration Details:
- ‘bind-addr’: Specifies the IP address and port on which Code Server runs.
- ‘auth’: Sets the authentication method; by default, ‘password’ is used.
- ‘password’: Represents the password for Visual Code Server access. Ensure it is a robust, secure password.
To customize the Visual Code Server configuration, including the bind address, port, and password, edit the default configuration file ‘~/.config/code-server/config.yaml’ according to your requirements.
Step 3 – Install Ngrok
Ngrok is a powerful tool for creating secure tunnels to localhost. Follow these steps to install Ngrok on your system.
- Visit the Ngrok website to sign up for a free account: Ngrok Website
- After signing up, you will receive an authentication token. Copy the token; you’ll need it for authentication.
sudo apt-get install snap
sudo snap install ngrok
This command will download and install Ngrok on your system using the Snap package manager. The Snap package for Ngrok is maintained by the Snapcraft community, providing a straightforward installation process.
Once the installation is complete, you can proceed to authenticate Ngrok with your account using your authentication token:
ngrok config add-authtoken 2RNVyXqVRVQKWhL2EV9jK8vPGqx_4bho91fM4354fddf32To start a HTTP tunnel forwarding to your local port 8080, run this next:
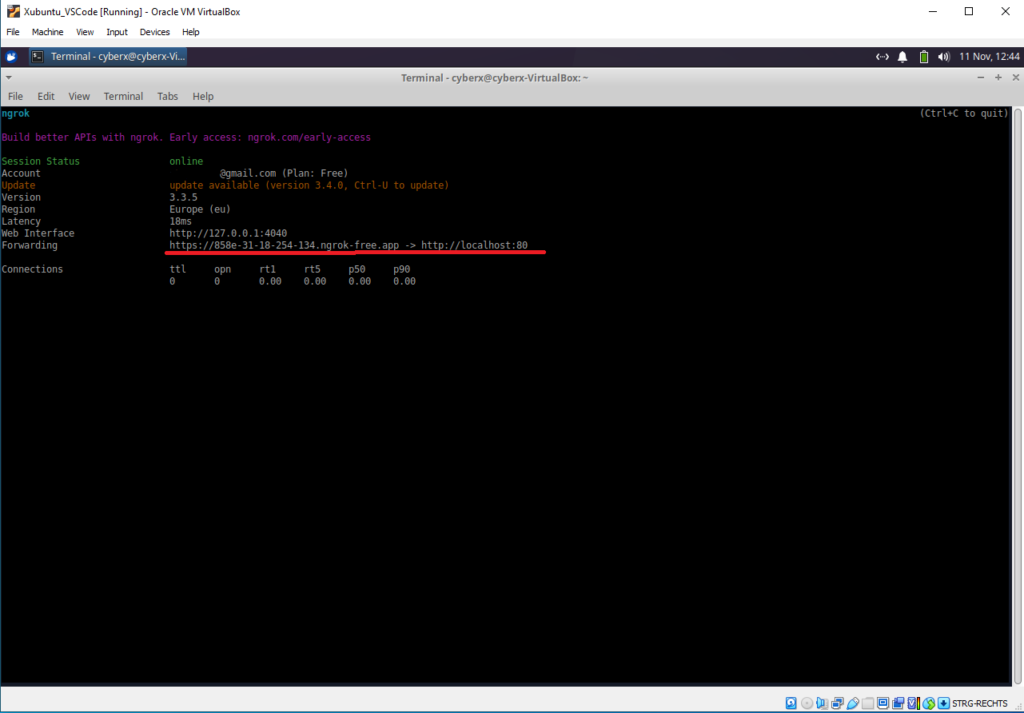
ngrok http 8080


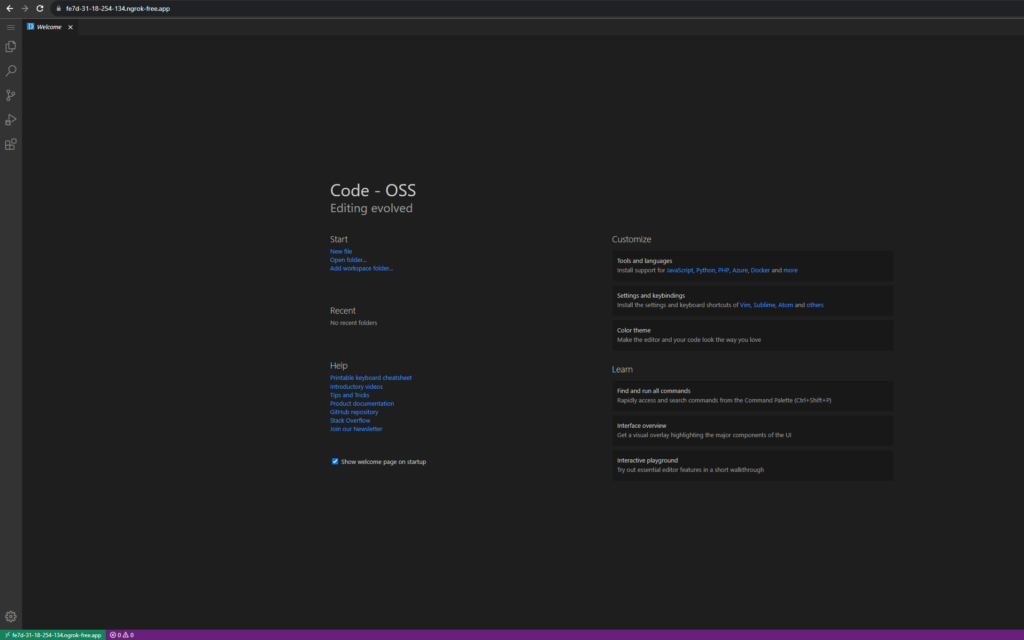
Congratulations! You’ve successfully installed Visual Code Server and Ngrok on your system, paving the way for a streamlined and secure development environment. Visual Code Server brings the power of Visual Studio Code to your web browser, while Ngrok enables secure access to your local servers from anywhere in the world.
As you embark on your development journey, take advantage of the flexibility and convenience these tools offer. Whether you’re collaborating with a team or working remotely, the combination of Visual Code Server and Ngrok empowers you to code efficiently and share your work seamlessly.
Happy coding! If you have any questions or need further assistance, feel free to reach out. May your development endeavors be smooth and successful!