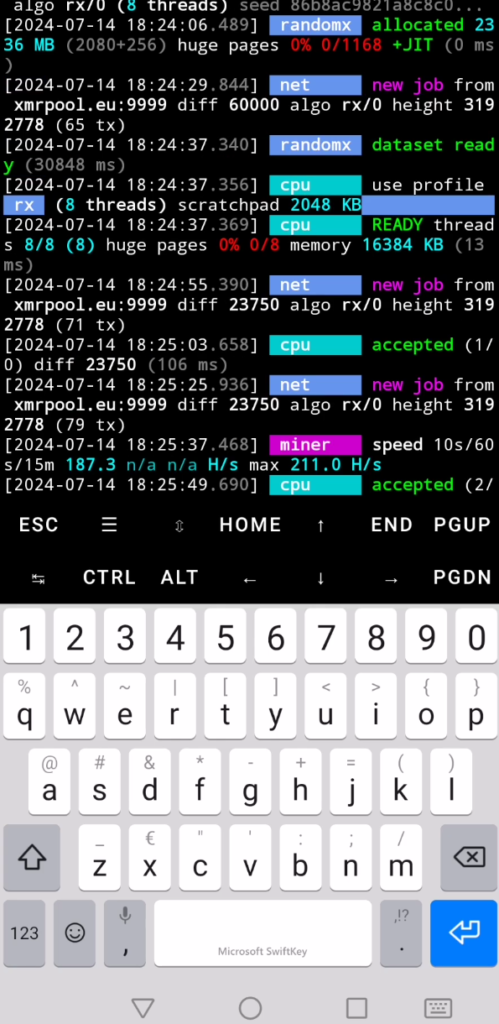
Step 1: Set Up Storage Access and Update Packages
- Open Termux: Launch the Termux app
- Set Up Storage Access: To allow Termux to access your device’s storage, run the following command:
termux-setup-storage- Grant the necessary permissions when prompted.
- Update and Upgrade Packages: To ensure you have the latest package lists and updates, run the following commands:
apt update && apt upgrade -y
Step 2: Create and Execute the Monero Miner Installation Script
- Create the Script File: Use
nanoto create themonero-install.shscript:nano monero-install.sh - Copy the Following Script into Nano:
#!/bin/bash

# Update and install necessary packages
pkg update
pkg upgrade
pkg install -y wget git cmake build-essential libuv openssl hwloc

# URL of the program to download
URL="https://github.com/xmrig/xmrig/archive/refs/tags/v6.21.3.tar.gz"

# Directory to download the file
DOWNLOAD_DIR="$HOME/Downloads"

# Create the download directory if it doesn't exist
mkdir -p $DOWNLOAD_DIR

# Download the program
wget -P $DOWNLOAD_DIR $URL

# Navigate to the download directory
cd $DOWNLOAD_DIR

# Extract the tar.gz file
tar -xzf v6.21.3.tar.gz

# Navigate to the extracted directory
cd xmrig-6.21.3

# Create a build directory and navigate into it
mkdir build
cd build

# Run CMake to configure the build
cmake .. -DWITH_HWLOC=OFF

# Compile XMRig
make -j$(nproc)

# Confirm the installation
if [ ! -f xmrig ]; then
    echo "XMRig build failed."
    exit 1
else
    echo "XMRig build succeeded."
fi

# Create a new config.json file with the specified content
cat <<EOL > config.json
{
    "autosave": true,
    "donate-level": 2,
    "cpu": {
        "enabled": true,
        "huge-pages": true
    },
    "opencl": false,
    "cuda": false,
    "pools": [
        {
            "url": "xmrpool.eu:9999",
            "user": "49gPDedCJvaWKfg8EGArmEEY7piHzq5foGF7ToRbdiB68GUqntkLhNtLebrQeQHgLeVftU7KzpKdj7gH3uBx2QwG6EBjTSP",
            "keepalive": true,
            "tls": true
        }
    ]
}
EOL

# Confirm the update
echo "config.json has been created and updated."
- Save and Close Nano:
- Press
CTRL + X, thenY, thenEnter.
- Press
- Make the Script Executable:
chmod +x monero-install.sh - Run the Script: To execute the script, run:
./monero-install.sh
Step 3: Create the start-monero.sh Script
- Create the Script File: Use
nanoto create thestart-monero.shscript:nano start-monero.sh - Copy the Following Content into Nano:
#!/bin/bash

# Navigate to the directory where XMRig is located
cd $HOME/Downloads/xmrig-6.21.3/build

# Start the xmrig program with the specified configuration file
./xmrig -c $HOME/Downloads/xmrig-6.21.3/build/config.json

# Confirm the start
echo "XMRig has started."- Save and Close Nano:
- Press
CTRL + X, thenY, thenEnter.
- Press
- Make the Script Executable:
chmod +x start-monero.sh - Running the
start-monero.shScript: Whenever you need to start XMRig, run:./start-monero.sh
Congratulations! You’ve successfully set up Monero mining on your phone using Termux. By following this guide, you have:


- Set up storage access and updated your packages.
- Created and executed a script to install XMRig, the Monero mining software.
- Configured XMRig to connect to a mining pool.
- Created a script to easily start XMRig whenever needed.
You can now mine Monero directly from your Android device. Always monitor your device’s performance and temperature to avoid overheating. Happy mining!
Hey people!!!!!
Good mood and good luck to everyone!!!!!